Как се сменят лагери на пералня
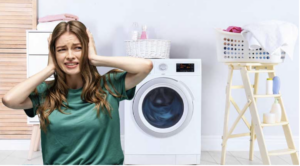
Когато вашата пералня стане прекалено шумна по време на работните цикли или ако барабанът се движи повече, отколкото трябва, това означава, че лагерите на уреда вероятно са се повредили и трябва да бъдат сменени. Тези части на машината се намират зад барабана, в задната част на уреда.
Първо, трябва да сте сигурни, че именно лагерите са за смяна, а не други части. Един от признаците за поява на такъв проблем е прекалено големият шум от пералнята по време на работен цикъл. Друг от сигналите, сочещи за повреда в лагерите, е прекомерното движение на кожуха на барабана, който го обгражда и държи стабилен.
Добре е да се знае, че този ремонт е трудоемка задача, която изисква време, усилия и не на последно място – знания за устройството на пералната машина. Смяната на лагерите е доста скъпа. Преди ремонтът излизаше около 120 лв., но сега цената стига почти 200 лв .
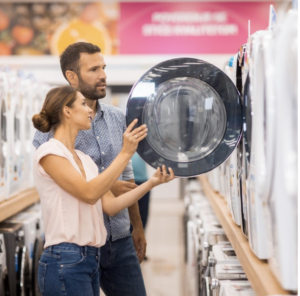
Поради тази причина, когато ви се наложи да избирате нов уред, по-добре се спрете на по-скъпите модели. От една страна ще се радвате на работата на пералната машина за по-дълъг период от време. А другото предимство е, че няма да ви се налага и твърде често да използвате услугите на оторизиран сервиз, заради по-доброто качество на по-скъпите модели уреди.
Подмяната на лагерите на пералната машина се води един от най-трудните ремонти. При него се разглобява целият уред, за да се сменят дефектните части. За да се извърши подобен ремонт е добре да си купите предварително лагери и семеринги. Етапите на подобна поправка са сходни при повечето марки и модели перални. Като цяло процесът минава през следните
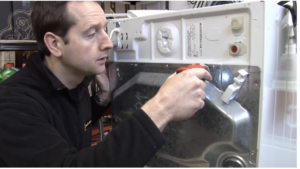
1. Dismantle the washing machine panels
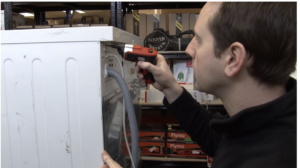
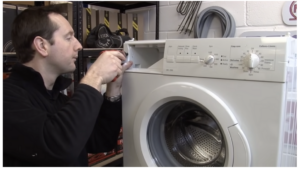
First, remove the top by unscrewing the two screws that hold it in place. Remove the detergent drawer. Then remove the control panel. On most models, it is attached with three screws. They are located around the detergent drawer at the top of the appliance.
If the control panel is connected to cables, they must be removed. This makes it easier to remove the upper part of the appliance. There are also models of washing machines in which the cables from the control panel do not need to be removed. Next, remove the base at the bottom of the appliance by pulling out the drain hose.
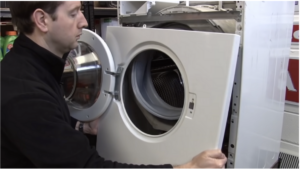
The front and rear panels of the washing machine are sequentially dismantled. Before this, the door seal must be removed. The hatch lock is also unscrewed. After that, you can proceed to remove the front panel.
The entire detergent compartment is removed. There may be a metal strip in front of it, which should also be removed if it interferes with disassembling the appliance. The detergent compartment is then pulled out through the top of the washing machine, giving access to the hose connected to the casing.
The counterweights are also removed. In most models, there are two of them – one on top and another, which is round, located around the door frame. Next, the heater is removed. There are electrical cables at the bottom of the casing. They are connected to the heater. The cables must be removed to remove the heating element.
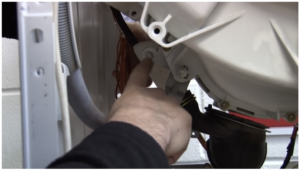
Next is the dismantling of the hose connected to the bottom of the casing. Before that, the water must be drained from it. The next step is to remove the back panel. Like other parts of the device, it is also held on by screws that must be unscrewed. The drive belt is removed and the motor is dismantled.
2. Remove the casing and drum
The next element is the removal of the pressure chamber. It is held on a plastic clip that must be released. This disconnects the pressure chamber from the casing. It, in turn, is held by two springs on top and has two legs that connect it to the lower part. In individual models of devices, the attachment of the casing may be different. It will be easier if you first remove the legs at the bottom and then remove the springs.
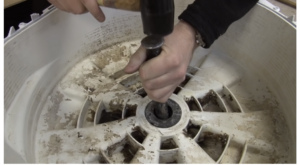
Next, remove the door seal from the casing. It is held in place by a spring clip that must be removed. The pulley on the appliance is also removed by turning the casing over. If the bearings on the washing machine are completely jammed, it may be necessary to use a hammer to tap the top of the spindle. This will help loosen the drum.
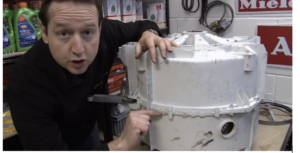
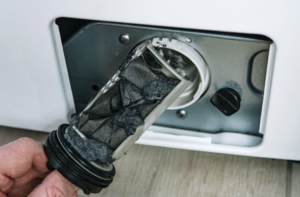
Then the casing is split in half by removing the connecting screws. In different models of appliances, the two parts may also be held by plastic clips, which must be removed. This is how the drum is removed. Now the bearings themselves must be removed. In the center of the inner part of the casing, their seal is located.
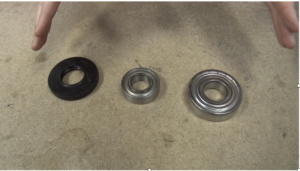
3. Replacing old bearings with new ones
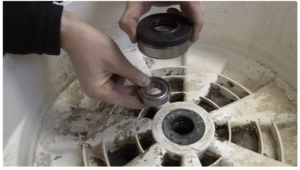
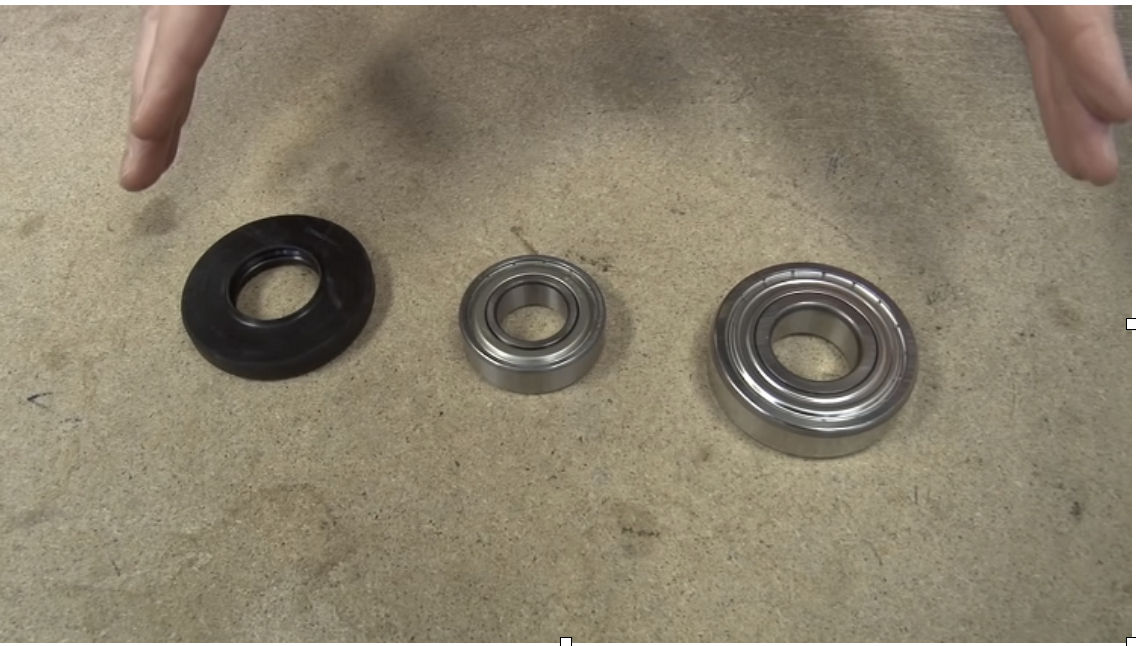
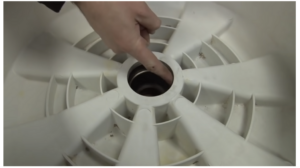
The larger bearing is above the smaller one, with a space between them. First one is removed, then the other. A hammer is used for this purpose. But the blows should not be strong, so as not to deform the sockets where the bearings are located. The smaller one is removed, and then the casing is turned over. The larger bearing and the seal are removed.
The new elements are placed in the socket, again using a hammer. When installing the bearings, blows should be applied only to their outer edges, so as not to damage them. Before this, the individual parts of the appliance are thoroughly cleaned. Next, all the dismantled elements of the washing machine are assembled.
Such a replacement of the bearings is possible if the drum of the appliance can be removed. There are also models of washing machines in which this is impossible. By the way, there are two types of drums. Some are encapsulated, and the others can be opened. In the first type, when there is a problem with the bearings, the entire drum must be replaced.
That's not all. When the bearings are damaged, it is advisable to replace the shock absorbers and the heater. Such a problem with the appliance also indicates its excessive use. It may also be necessary to perform maintenance on the motor brushes, which will ensure better operation of the washing machine in the future.
The top part is removed. |
The front and rear panels are dismantled. |
The motor and heating element are removed. |
The drum is removed. |
The casing is removed and cut in half. |